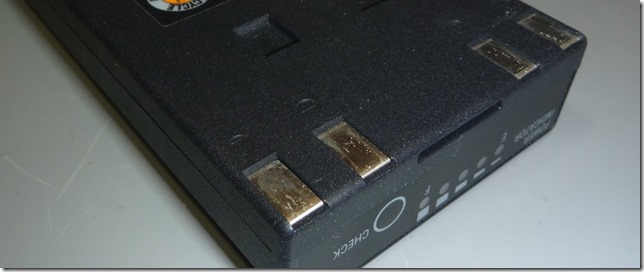
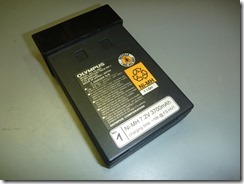
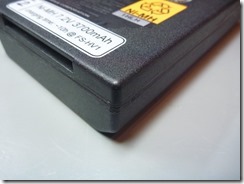
After some years the batteries inside the Olympus high voltage flash pack die. Olympus does not offer replacement Batteries. You have to throw away the whole battery pack and get a new one (which is about 200 €).
I thought that – before throwing it away – I give it a go and try to replace the batteries myself.
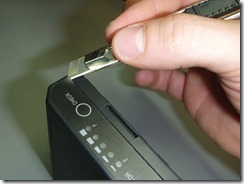
The first thing you have to do is to Carefully peel off the plastic cover. Its easiest to start at a corner. You should warm up the foil a bit (use a hair-dryer or a rework station). When the glue is warm, it comes off rather easy. Don’t make it to hot (or you will be melting the plastic). I used a hot air station with the settings 100°C and 60l/min. Just make the plastic warm (~ 50°C) that is more than enough.
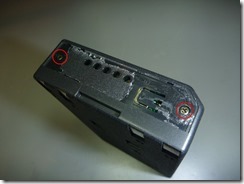
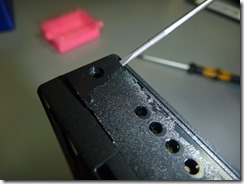
Under the plastic you will find two PH0 screws. After you remove them you can lift out the plastic cover of the small PCB.
You will see the PCB that is again secured with 2 PH0 screws. After those screws are removed you can lift out the PCB a bit. An the rear side of the PCB there are 5 cables. 3 thicker ones (red, white, black) and two smaller black cables. The two smaller black cables to a temperature sensor. Be careful not to cut or damage them.
Olympus has molded the plastic case together. There is no easy way to get this apart.
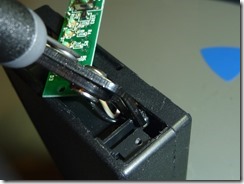
The first step is to cut two small connections that are under the PCB. I used a side cutter to split them. Be careful not to cut the cables.
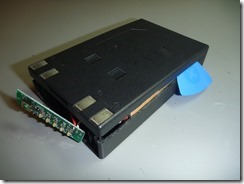
The next step is the most time consuming. You have to cut around the case where the upper and the lower part have been welded together. I used a cutting blade and repeatedly cut along the edge.
BE PATIENT! … it took me nearly half an hour to get the case open. Be careful not to cut to deep (the batteries are close behind the wall). You can feel it when you penetrated the case. Just take your time and work slowly and carefully. I used a prying tool to separate the upper and lower part just a bit so that the cutting knife gets a bit more room.
The sides went apart easy … but at the bottom the case had a better connection. I used two prying tools and pushed them right till the bottom. With patience and a little force (tilt the upper part towards the bottom) the case snapped apart.
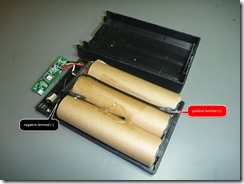
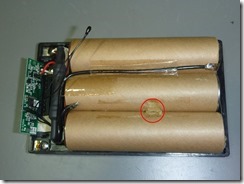
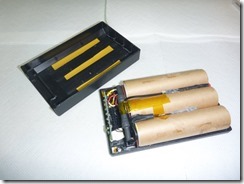
There are 6 single sub C cells that are joined in serial.
The six batteries are all wired in series (6 x 1,2V = 7,2 V).
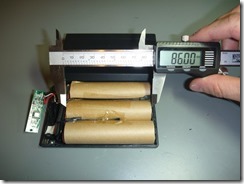
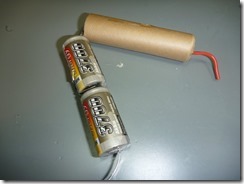
The two batteries in series are 86mm long and have a diameter of 22,5mm.
So our replacement batteries have to be smaller than 42mm x 22,5mm (length x diameter) .
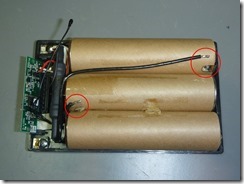
In order to remove the battery pack from the case you have to carefully loosen the temperature sensor from the battery. The sensor is podded in some kind of elastic clue. Just use a screwdriver and carefully peel it out.
After that you can unsolder the wires that connect to to the battery pack.
I thought about replacing the cells with eneloop; my tests showed that they provided to less peak current. The charging time for the flash would have been far to long.
In the electronic shop nearby they had battery packs where the single cell size matched. These packs are designed for RC usage. This means that they can provide a high peak current (perfect for our application). I took cells that had a higher capacity (3700mAh instead of 2600mAh);. Sadly there was no pack with the right alignment of the single cells so I had to align them. I reused the paper cover to isolate the new battery pack.
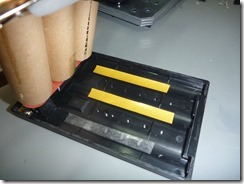
To fixate the new battery pack in the cover I used very thin double side adhesive tape (some Tesa that is usually used for sticking photos to an album).
I resoldered the connection wires and glued the temperature sensor in place. Before gluing the temperature sensor I put some thermal compound between the battery pack and the temperature sensor.
Don’t stick on the top cover of the battery pack right now. There would be a small gap where we cut the case apart.
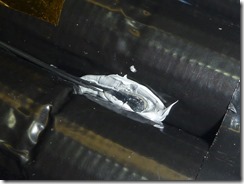
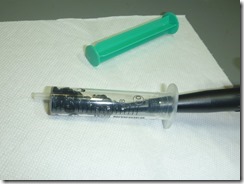
I used construction silicone glue to rejoin the case. In order to be able to allot the silicone more accurate I decanted it from the big cartridge to a smaller syringe. You also should prepare a small bowl with water and add a drop of dishwashing liquid to it. You can then dip your finger in this fluid and the silicone will not stick. This way you can smoothen it later on.
Before applying the silicone you should put tape around the outside of both of the case halves. I positioned the tape approximately 1mm away from the edge.
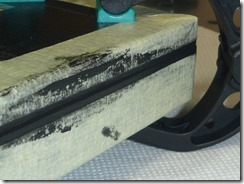
Apply a small amount of the construction silicone around the edge of the lower case. Don’t use to much or it will get messy once you put the case together. If it really is too little (trust me there wont) you can apply more when the case is put together.
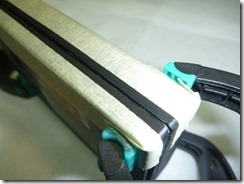
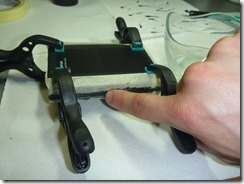
After you applied the silicone you can put the case together. I used four clamps to press it so that there is hardly any gap. Now you can use your finger (dip it in the dishwasher liquid first) to smoothen / remove the silicone that got squeezed out of the case.
Let it dry for at least 24 hours (depending on the type of silicone you used). After drying you can remove the tape.
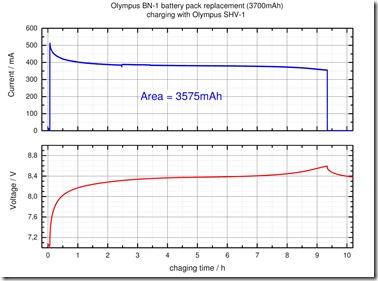
I monitored a full charging cycle with my bench top multimeter. The battery was charged with the Olympus charger (I had small copper strips to tap of the connections). I wanted to ensure that there are no problems (like a timeout) because of the increased capacity.
The charging worked just fine and took approximately 10 hours.
The last thing I did was to put an additional marking on the battery pack so that it can be identified easily.
All finished ![]()


