Cobra ODE installation in a Sony PlayStation 3 Slim
A few days ago a friend asked me if I could help him install a Cobra ODE into a PlayStation 3. To be exact the Cobra ODE v5.10B QSV into a PlayStation 3 Slim 4k.
Here is a link to the web page of the manufacturer:
http://www.team-cobra-ode.com/products.html
I had absolutely no experience with this installation. I used two resources for Information how to disassemble the PS3 and install the Cobra ODE.
In the download section of the Cobra ODE webpage there is a PDF installation manual available (http://www.team-cobra-ode.com/downloads/Cobra_ODE_Installation_Manual_(2k5_to_4k)_(v5_-_v5-QSV)_(English)_v1.1.pdf). The manual is a bit confusing, because it is for multiple versions of Cobra ODEs and multiple versions of PlayStations. So you often have to skip around in the document. One thing that was missing in the manual is a final picture of the installed ODE with all the cables wired – but let’s look at that a bit later.
The second resource I used was a YouTube video that explains the installation of a different version of a Cobra ODE.
https://www.youtube.com/watch?v=PP_Q044sSss
Before reading further you should study the PDF manual and make yourself familiar with the steps. The description below is not a step by step manual. It should be rather seen as additional tips and hints.
To disassemble the PS3 and to solder the QSB insert you can pretty much do everything as in the video until 11m45s. You should use Kapton tape instead of the common tape. I don’t know exactly if it will be an issue … but with Kapton you are on the safe side.
From 11m45s on stick to the official manual and the recommended routing of the cable. First you have to reassemble the PS3 to the point where only the top cover is missing. Don’t forget to install the new provided power thief cable.
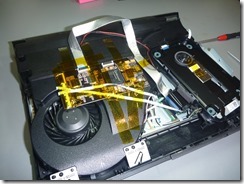
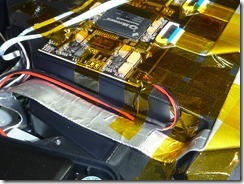
The power cable installation is documented in the manual. Be careful to plug the cable in the right way. The tapping where the small cables are need to be on the power supply side. I did it wrong the first time (the PS will not turn on). The In the picture below you can see the position in which I mounted the ODE V5.10b. Additional to the double sided tape I secured the PCB with lots of Kapton tape. The main reason is, that the plastic below the PCB is not completely flat and the double sided tape only touches part of it.
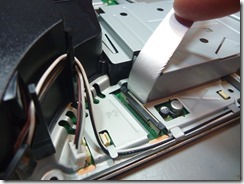
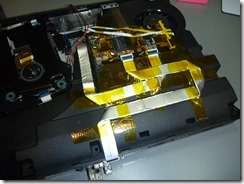
You also have to connect the small cable to the cover switch. Because of the placement of the PCB (I don’t think there is a better place) the cable provided are hardly long enough. To install the cover switch cable I lifted the optical drive out of its position a bit closer to the PCB. After connecting the cable you can put the drive carefully back. You will see that the cable is under a bit of tension, but I think it will do. The position of the larger cable is not fixed yet.
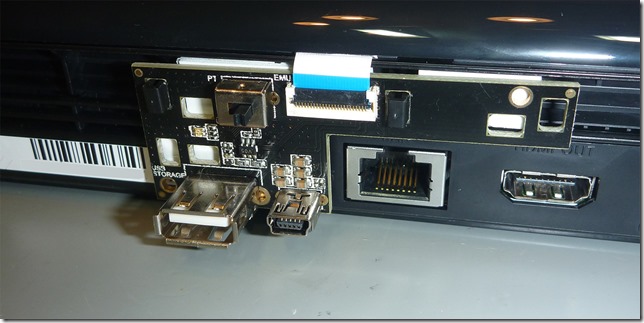
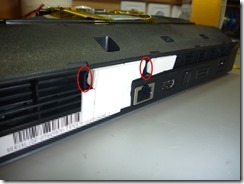
The next step is to install the clip on PCB. I used the provided plastic clips. I only used clips on the position 4 and 6 as shown in the manual at figure 2.35. To give the PCB more stability I additionally used double sided tape. This is also done in the YouTube video mentioned at the beginning from 19m12s onwards. In contrast to the YouTube how-to keep the areas clear where the clips will clip on the fan inlets.
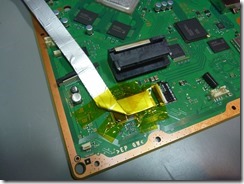
After that you can install the two cables. I secured them firmly with Kapton. The last thing to do is to attach the power cable and fixate it.
After that you can reassemble the PS3. You have to squeeze the top cover a bit to close the console. If you worked as I did everything fits in nicely.
