Fluke 233 Display repair
Recently I scored a broken Fluke 233 on ebay. On the pictures it seems that the meter was in good shape. Only the display seems to be broken.
When the unit arrived I was able to turn it on and the continuity buzzer worked just fine ![]()
The special thing about this meter is, that you can separate it into the base unit and the display unit. They communicate by wireless transmission up to 10m.
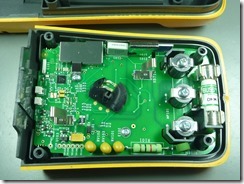
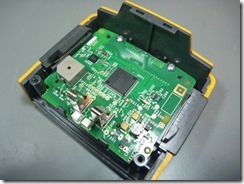
At first let’s have a look at the base unit. I took it apart in order to check if the right fuse is in the meter (you never know on used equipment).
The build quality is (as to be expected from fluke) superb. This unit seems to be in good condition. No parts were damaged or dirty.
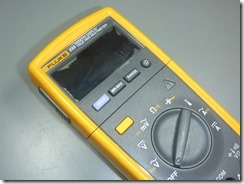
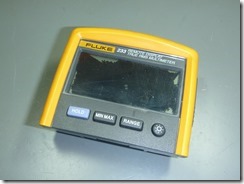
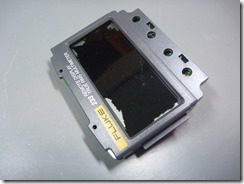
Next I took a closer look at the top unit. As you can see on the pictures the LCD Display was damaged. I ordered the replacement part from the Fluke distributor in Austria (Analog & Digital Messtechnik; http://www.kalibration.at/). The part number for the broken display is “LCD RDX (3385697)”.
You can find part numbers and service instructions in the calibration manual. Just search “fluke 233 calibration manual” with Google and you will find it straight away.
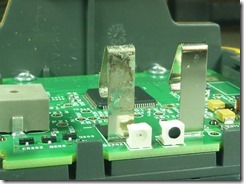
On two of the battery terminals there was a bit of corrosion. Probably someone had left batteries to long in there. With a screwdriver and some alcohol prep pads the dirt came off really easy.
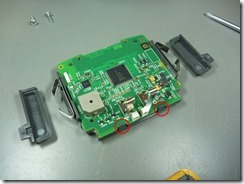
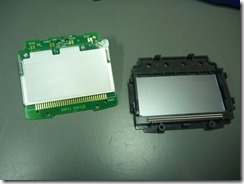
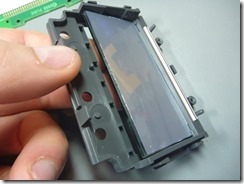
After you removed the PCB from the housing the display is still connected to the PCB. You have to pry open the red marked plastic clips gently. The LCD assembly will then come off.
In order to change the LCD you have to lift it slightly up and slide it out in the directions of the buttons. At my unit the conductive rubber zebra stripe was stuck to the PCB. I used a pick to separate it carefully.
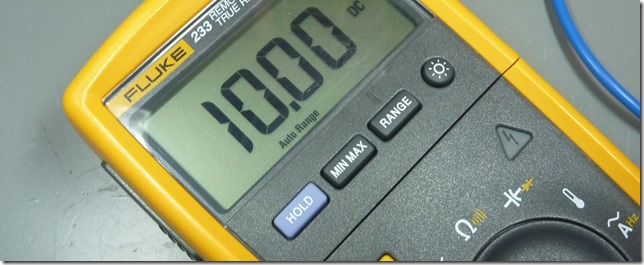
I installed the new LCD and reassembled everything again. The yellow rubber was a bit dirty. Alcohol prep pads work good to clean the rubber and let meter look like new. ![]()
